Battle.net Offline Setup Guide
Follow this step-by-step guide to sign in to your G2X Games Battle.net account, complete the required security verification, install your game, configure Battle.net for offline play, and enjoy supported single-player campaigns offline.
1. Sign in to Battle.net
Open the official Battle.net desktop application and sign in using the account credentials provided on your G2X Games My Games library page.
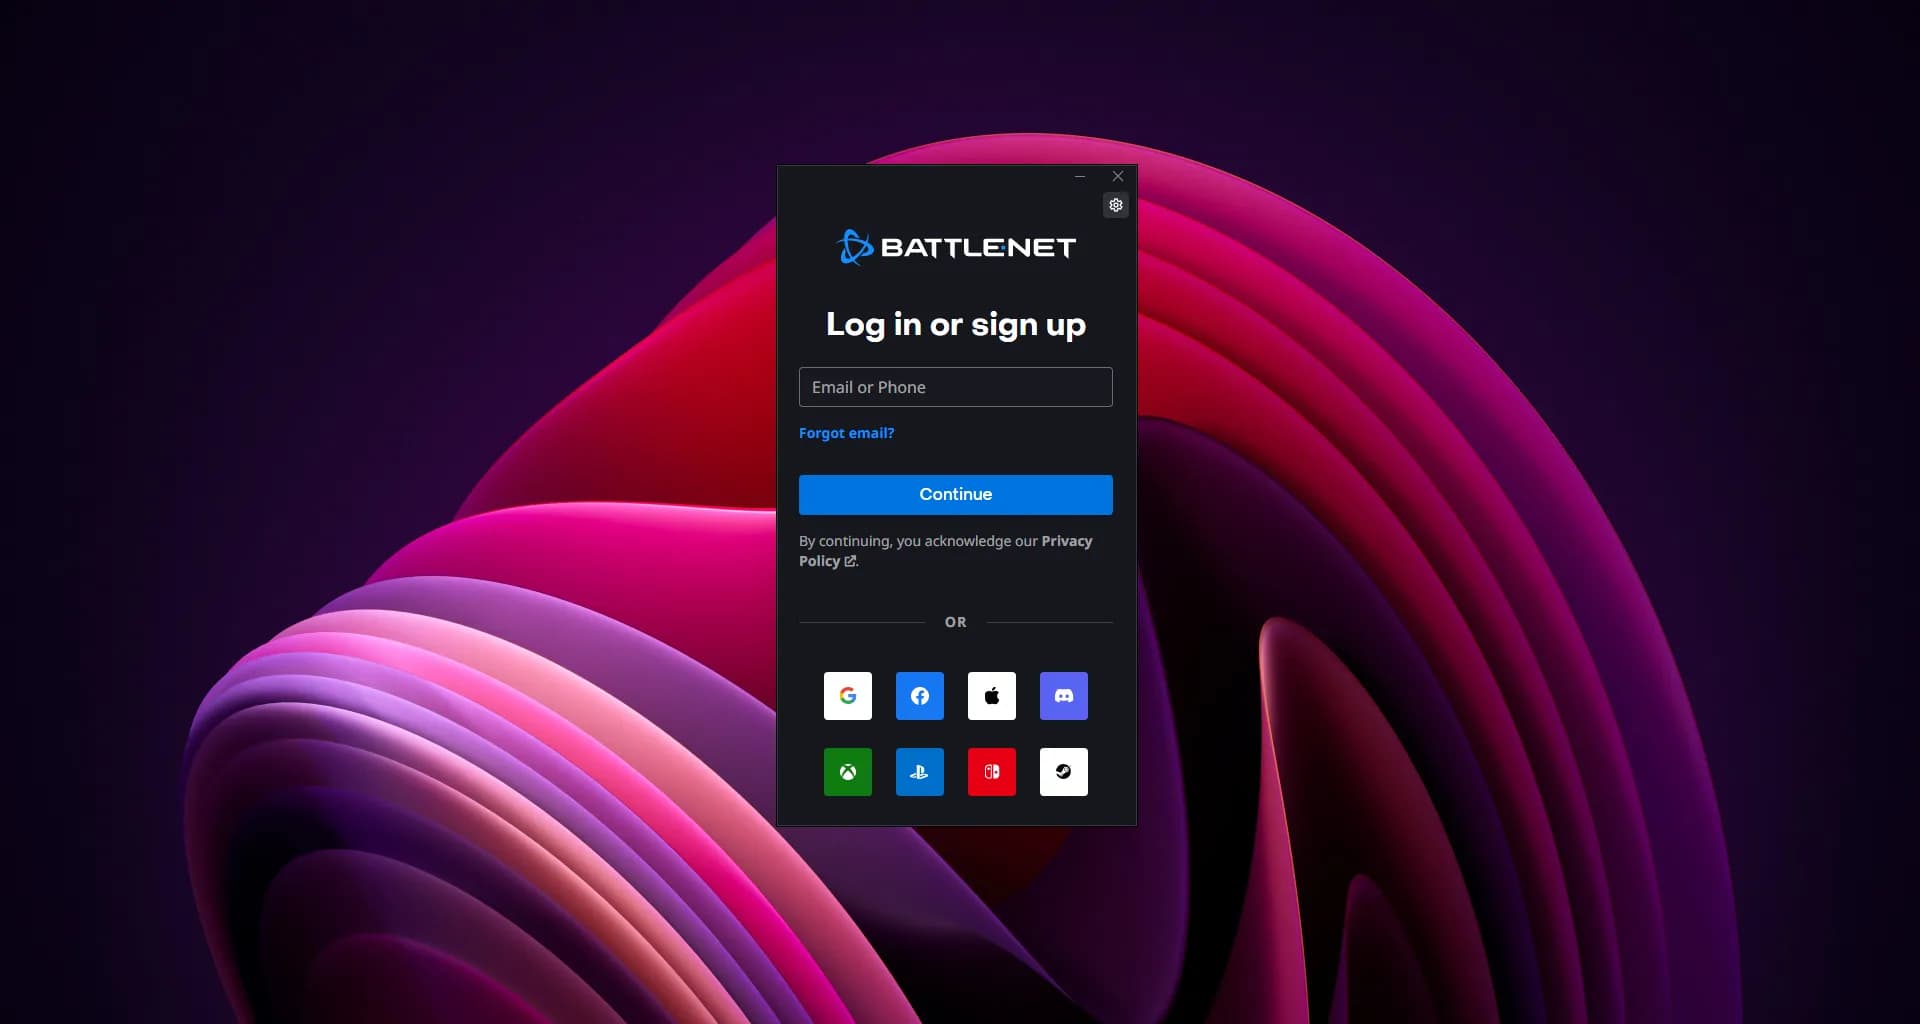
- Launch the official Battle.net Desktop App on your PC.
- Enter the provided email address in the Email field.
- Click Continue to proceed to the next step.
2. Enter Password to Continue
Enter the password provided for the Battle.net account to continue signing in.
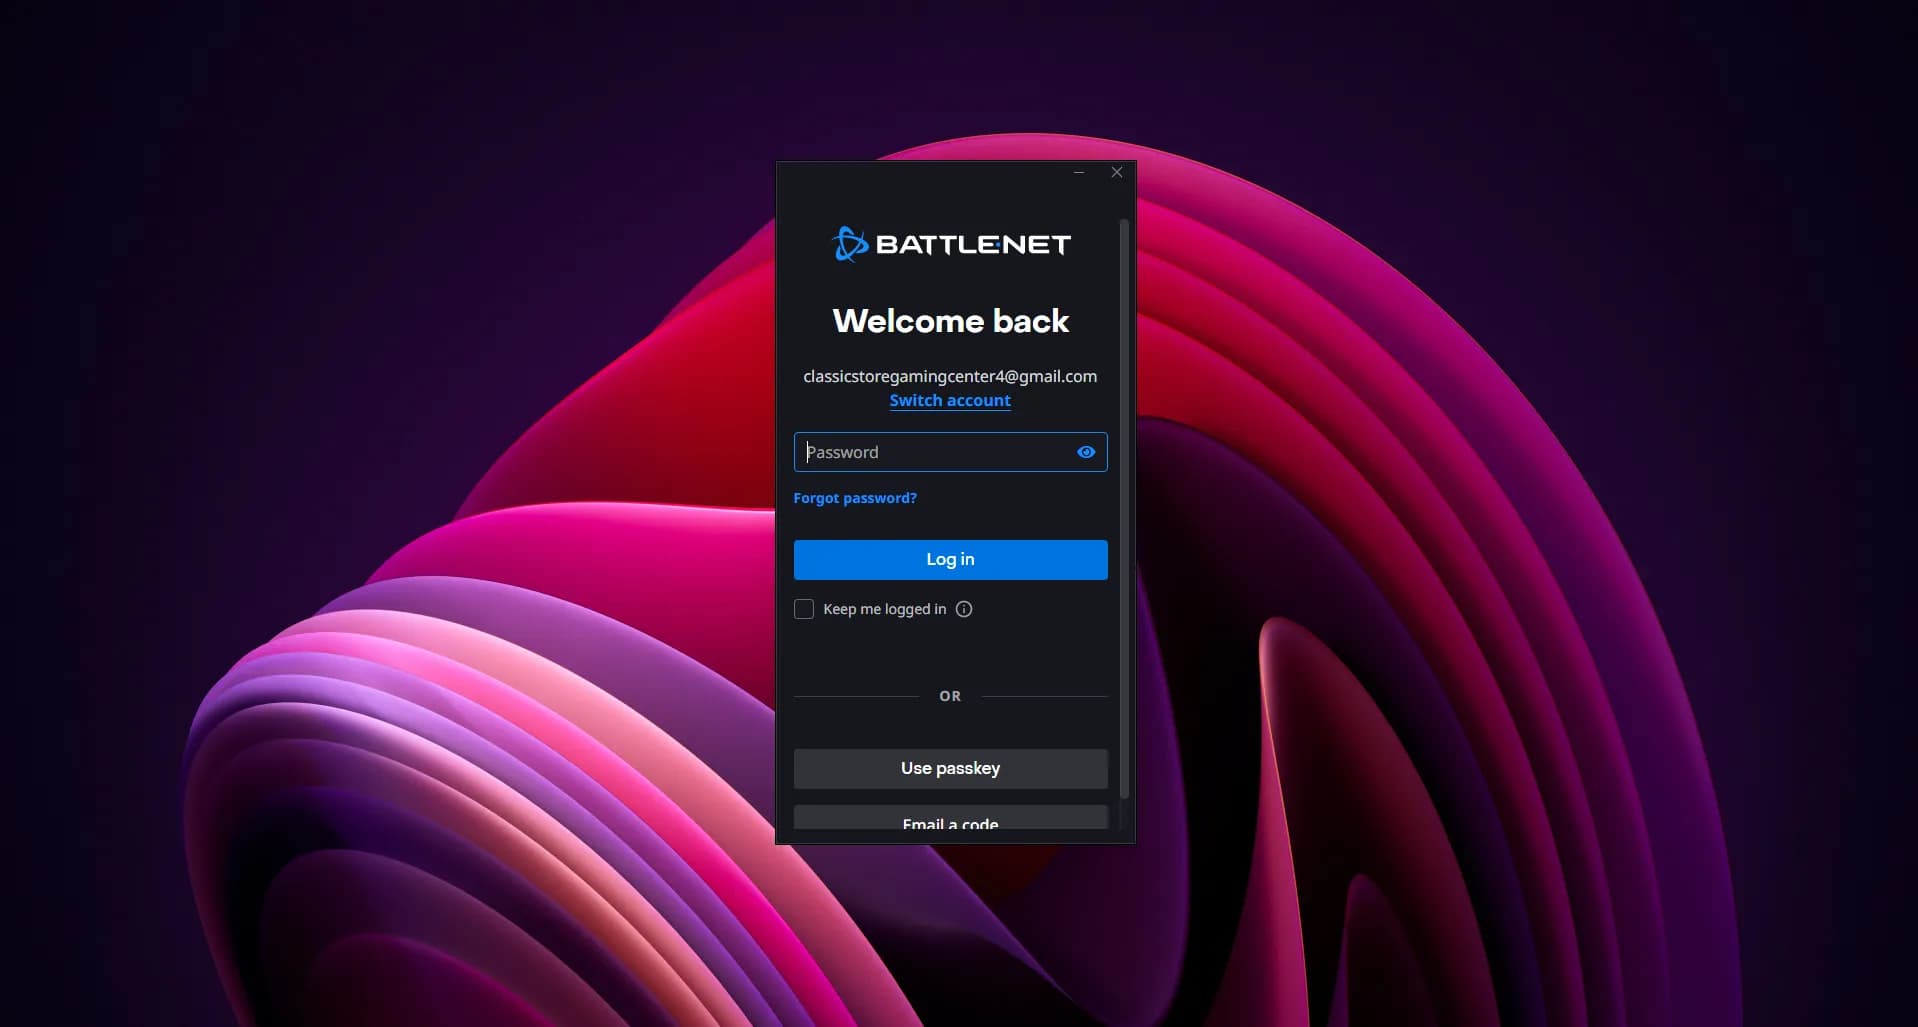
- Enter the provided account password into the Password field.
- Enable Keep me logged in so Battle.net remembers the account on your device.
- Click Log in to continue.
3. Go to Library
Navigate to your Battle.net library and choose the game you need to play.

- In the Battle.net client top navigation, click on the Library tab.
- Browse through your games list and click on the game you wish to play.
4. Install the Game
Download and install the game files directly through the Battle.net client.

- Click the Install button on the game overview page.
- Select your preferred installation drive and folder, then confirm to begin downloading.
- If the game supports modular installation (such as Call of Duty Campaign), you can select only the single-player campaign content to save disk space.
5. Launch Game Online for the First Time
Launch the game once while connected to the internet to complete the required license and DRM activation on your PC
- While your PC is connected to the internet, click the Play button in Battle.net.
- Let the game load through all opening videos and reach the Main Menu. If shader compilation is required, wait for it to complete.
- Once you reach the Main Menu, cleanly exit the game using the in-game Quit / Exit option.
6. Go to Offline Mode
After reaching the Main Menu online once, switch to offline play using either of the following two methods.
6.1. Simple & Quick Method (Disconnect PC Internet)
The simplest way to play offline without configuring any firewall settings.
- After launching the game online once to the Main Menu and exiting, disconnect your PC from the internet (unplug Ethernet or disconnect Wi-Fi).
- Launch the game again or open Battle.net in offline mode.
- Select the game and click Play to start your single-player campaign.
6.2. Firewall Rule Method (Keep PC Online for Other Apps)
Use this method if you want to keep your PC connected to the internet for browsing, Discord, work, or other applications while preventing the game from accessing the internet.
- Open Windows Defender Firewall with Advanced Security on your PC.
- In the left pane, select Outbound Rules, then click New Rule... in the right pane.
- Select Program as the Rule Type, click Next, and browse to select the game's main
.exefile. - Select Block the connection, apply to all network profiles (Domain, Private, Public), and click Next.
- Enter any recognizable name (such as Battle.net Offline) and click Finish.
Frequently Asked Questions
Common questions and solutions for Battle.net offline mode
Other Platform Guides
Explore instructions for other gaming launchers



Still Need Help?
Having trouble with your game activation? Check our other guides or contact G2X Games Support for assistance.